I am excited to share my journey of building a prototype EEG headset, The Khaydarin Neuralisk, which will be a cheap and high-quality alternative for home use. Although the headset is not physically made yet, I have put much effort into designing the circuit and figuring out the necessary components.

The idea for this project came to me when I was trying to build my own OpenBCI components but was having trouble sourcing some parts. So, I decided to take matters into my own hands and create an EEG headset prototype from scratch.

The headset will be 3D printed using TPU, a flexible and durable material. The circuit includes 20x INA128 instrumentation amplifiers, 20x silver chloride electrodes, 3x MCP3008 ADCs, 20x LM358 operational amplifiers, 1x HC-05 Bluetooth module, resistors and capacitors for the circuit, diodes, a 1x Gens Ace 3.7V 450mAh LiPo battery, 22 AWG PTFE or silicone wire, JST connectors, header pins and connectors, and electrode connectors.

While the headset is not yet fully functional, I have put a lot of thought into how the components will interface with each other and the BeagleBone Black. The INA128 amplifiers will need to be connected to the power supply, input signal, and output signal on the BeagleBone Black. The MCP3008 ADCs can communicate using the SPI interface. The analog inputs and outputs must be connected to the appropriate pins on the board. The LM358 operational amplifiers can be connected similarly to the INA128 amplifiers, and the power supply, input signal, and output signal will also need to be connected to the BeagleBone Black.

The HC-05 Bluetooth module will need to be connected to the serial interface on the BeagleBone Black, and Python code will need to be written to communicate with it using the UART interface. The Gens Ace LiPo battery will need to be connected to the BeagleBone Black, and code will need to be written to monitor its voltage and ensure that it is charged and discharged correctly.

Finally, the electrode wires and connectors must be connected to the appropriate pins on the BeagleBone Black. Code will need to be written to read the signals from the electrodes using the INA128 amplifiers and MCP3008 ADCs, and signal processing algorithms may need to be implemented in Python to filter and analyze the EEG signals.

Although I have yet to physically build the headset and test its functionality, I am excited about the possibilities and the potential impact it could have as a cheap and high-quality alternative for home use. You can checkout my progress on GitHub.

https://github.com/AwaywithCharles/Psionic-void-dev/tree/Psionic-void-dev/Khaydarin%20Neuralisk


If you’re planning a trip to Turkey, you’re in for a treat! This beautiful country has so much to offer, from stunning mosques to bustling bazaars. To ensure you have the best possible experience, here are some helpful tips to keep in mind:

  • First and foremost, restroom access at train stations can be tricky. Keep your train ticket handy, as you’ll need it to enter the restrooms.
  • Next up, cash is key. If you plan to use the train or metro, you’ll want to have small bills before descending to the underground entrance areas. There are vendors and kiosks for purchasing tickets further down, but they only accept smaller cash denominations.
  • If you’re planning on taking a tour, be sure to bring your own water, as tours often charge extra for drinks.
  • If you plan on visiting mosques, it’s important to respect local customs and etiquette. You’ll need to remove your shoes at the door, and men should wear pants and a shirt, while women should cover their heads and wear pants, covering their shoulders. Avoid standing in front of anyone who is praying, and never take photos of someone praying.
  • When entering public places like shopping malls or airports, be prepared for security checkpoints. Just follow the lead of those around you, and you’ll be through in no time.
  • Last but not least, remember to embrace the local culture! Turks have a tradition of removing their shoes before entering a house, so do the same. And don’t be afraid of the double cheek kiss – it’s a common greeting in Turkey!

By keeping these tips in mind, you’ll be better prepared for your trip to Turkey and have a more enjoyable experience. Safe travels! tips in mind, you’ll be better prepared for your trip to Turkey and have a more enjoyable experience.


Istanbul, Turkey, is a bustling city with many different options for transportation. Whether you are arriving at the airport or just need to get from one end of the town to the other, there are many ways to get around. In this guide, we’ll explore some of Istanbul’s most common and convenient transportation methods.

Getting from the Airport to the City

If you are arriving at the airport and need to get to the city, several options are available. The most common methods are taxis and tour drivers.

Taxi

When you exit the airport, you will see two taxi lines outside: black and yellow/light blue. The black taxis are more luxurious and typically cost more. In contrast, yellow and light blue taxis are the standard option. When you get in a taxi, make sure the driver uses the meter, and it should cost around 200-400 TRY, depending on where you are going and the traffic. This is the best option if you have a lot of luggage.

Tour

When booking a tour, you could negotiate a hotel pick-up; if you were to pre-arrange it before your visit. The tours will also offer a 5% or 10% discount if you pay for the tour in cash. Typically for pre-booked tours, you must place a deposit online, then go to their office in person after you arrive to pay the rest.

Public Transportation

Taxi

If you prefer taking a taxi, there are two options: taxi stands and BiTaksi. Taxis typically only accept cash, but you can ask if they take cards.

Taxi Stands: Make sure the driver uses the meter.

BiTaksi: This option requires a Turkish phone number and is only available in Turkish but is easy to navigate and use. It shows a flat rate from your current location to your destination, and payment is in cash.

Metro

The metro is an affordable and convenient option for getting around Istanbul. When you purchase a metro pass, there is a machine typically right in front of the gates to enter. Once you have your ticket, you touch it to the gate machine, and it will allow you to walk through. You will need small bills if you buy a single-use or multi-use ticket from the ticket machine. The ticket machines have a maximum money denomination limit that they accept.

You should go to a local convenience store and ask for an Istanbul card, which is typically only 60 TRY. You can load additional money onto it. Once you have the card, the metro ride is only 7 TRY, and you can top it up at the ticket kiosks.

There are several options for metro tickets, including single-use tickets, 5 Lira (Max 20), 3-use tickets (30 Lira, Max 40), and 10-use tickets (90 Lira, Max 100).


This will be a list of ongoing and future projects that I am working on.

  •  Voron .01 Build (inw)
  • Voron v2.4 build
  • Micron Build
  • Mini builds
  • 3d scanner
  • bench power supply
  • Docker container configuration
  • Filament storage
  • 3d Printer Black Market edition (replicator rebuild)
  • Hydroponic system
  • hydroponic system automation
  • solar setup
  • 3D printer stand
  • DBZ SFF PC build
  • Pokemon PC build
  • Home server
  • Home networking rack
  • Cesna Flightsim
  • Fighter Flightsim
  • Home automation and lights
  • Tool Bag
  • Modular travel kits
  • Modular Camping kits

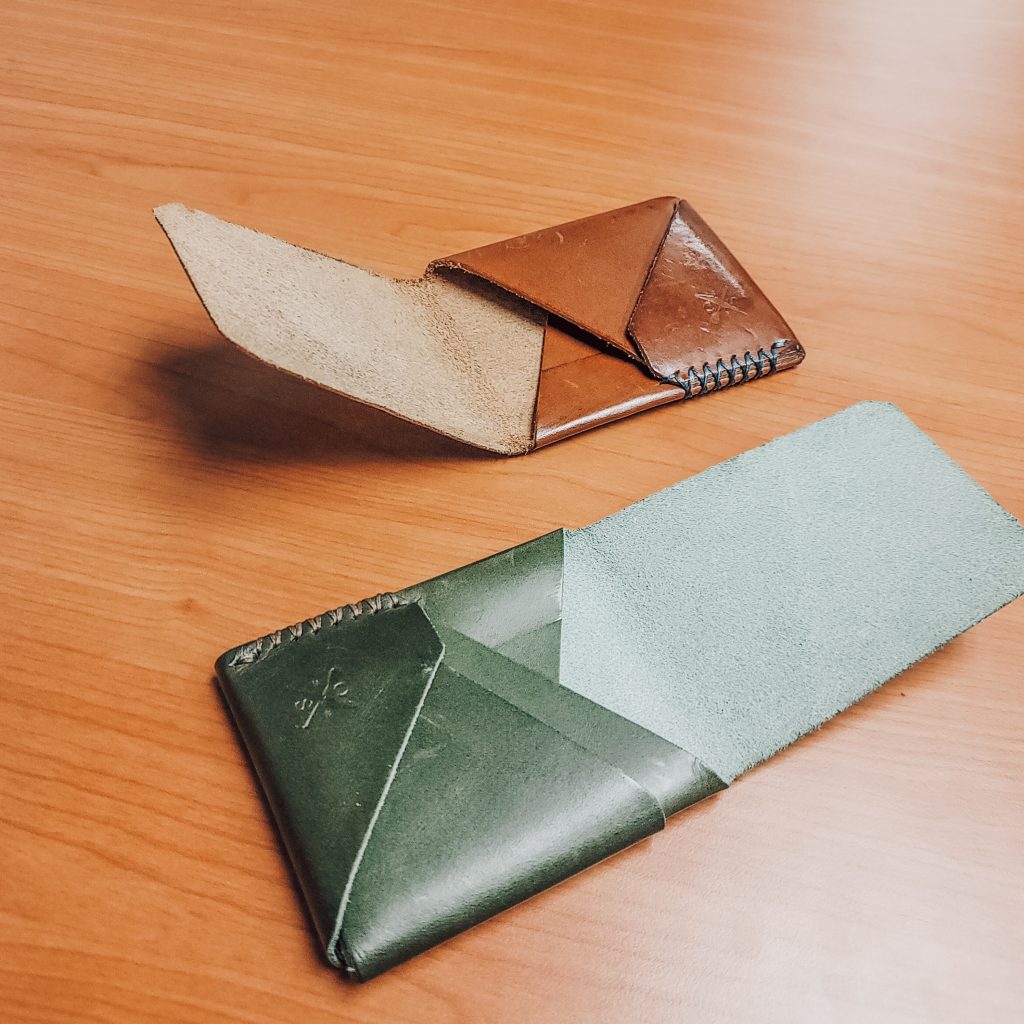
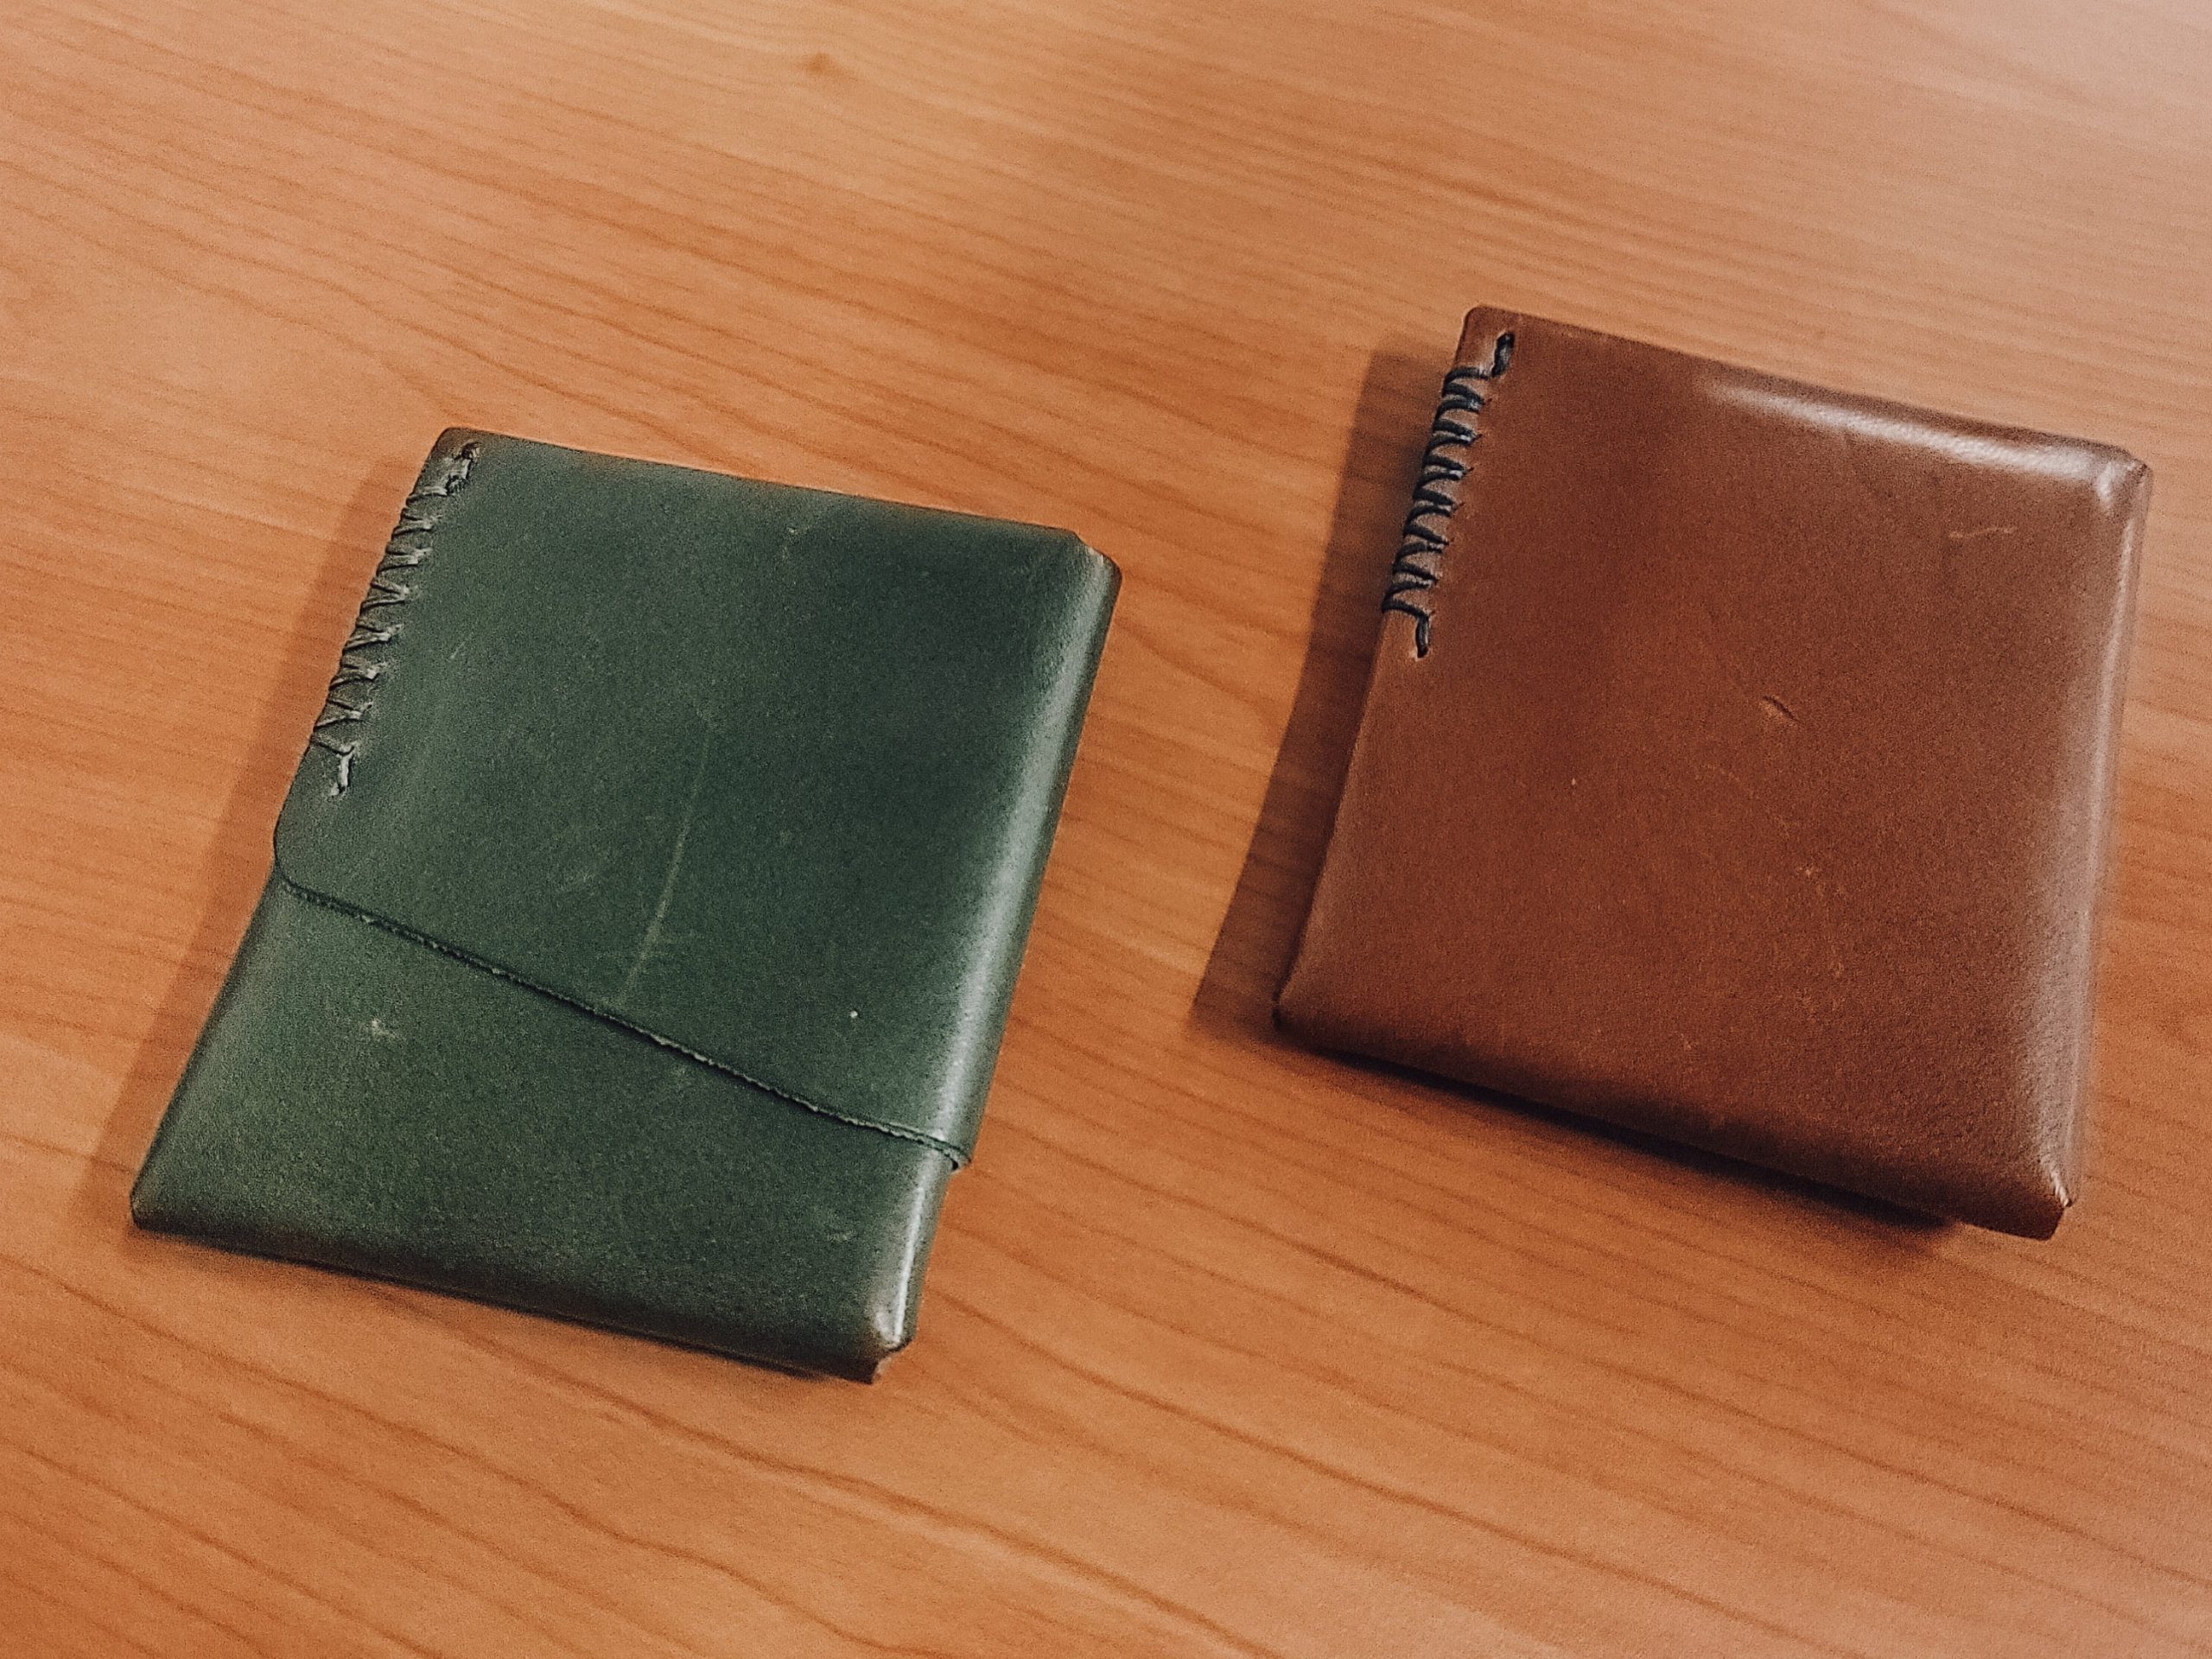
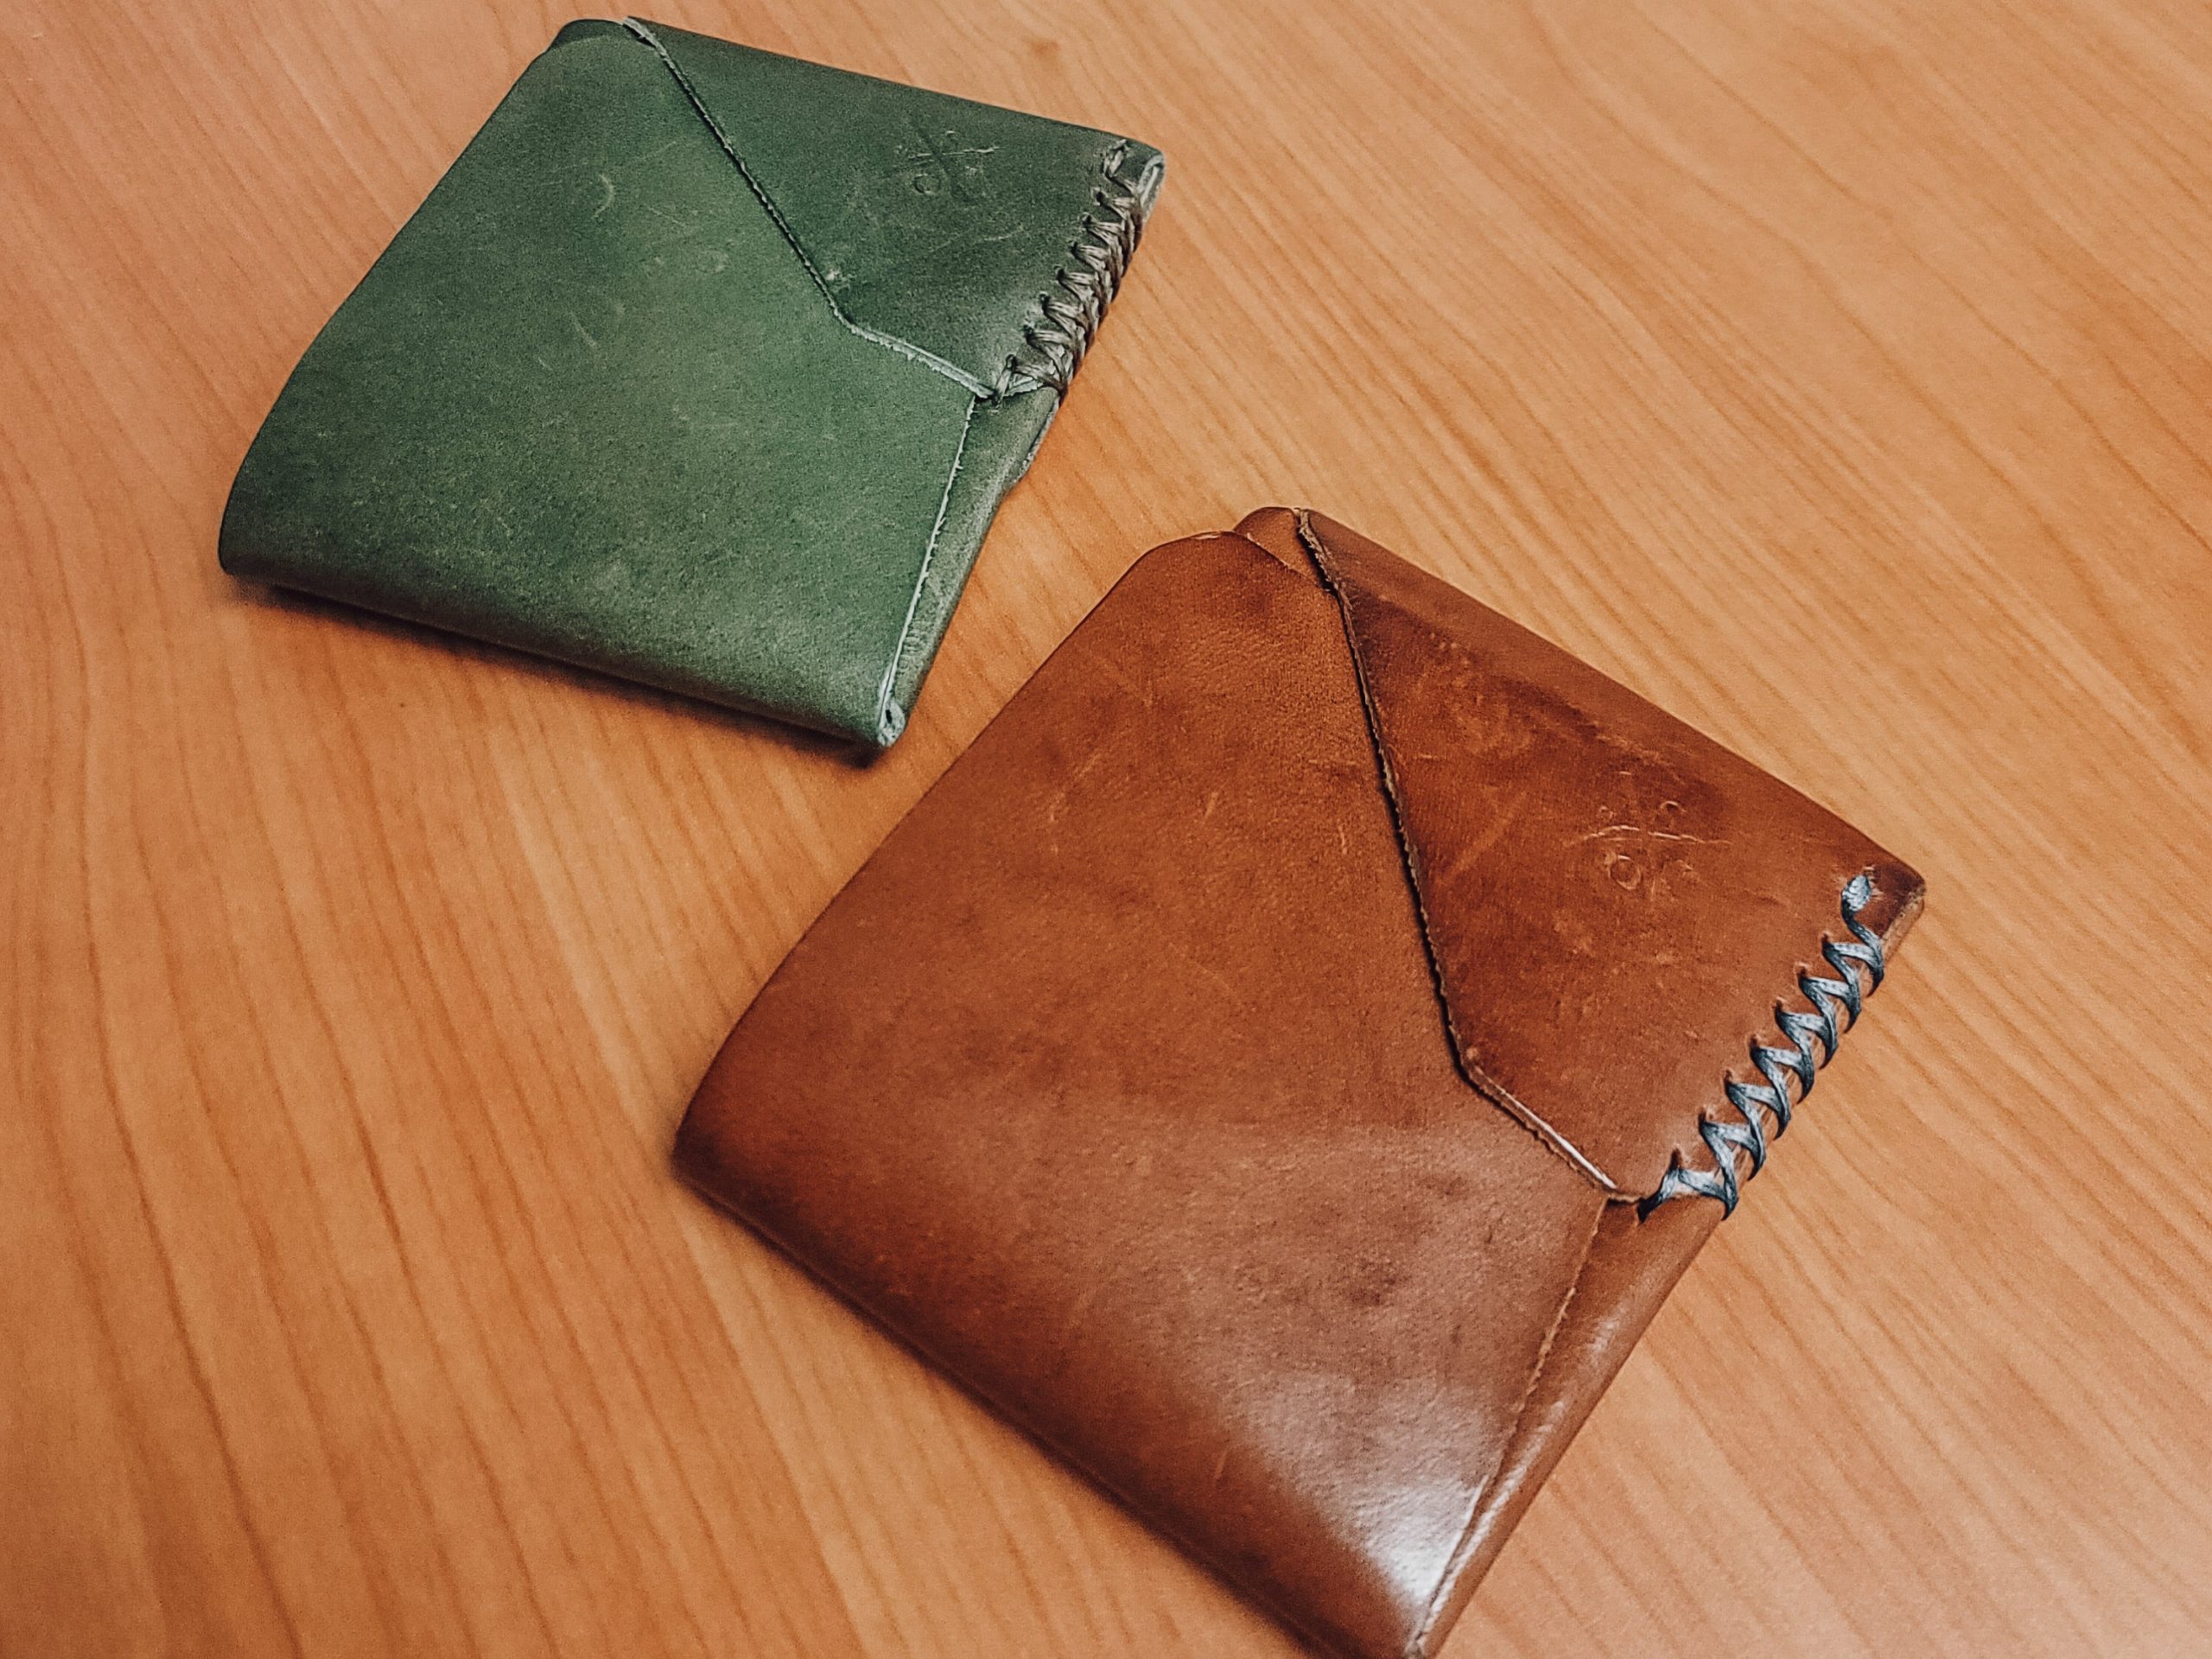
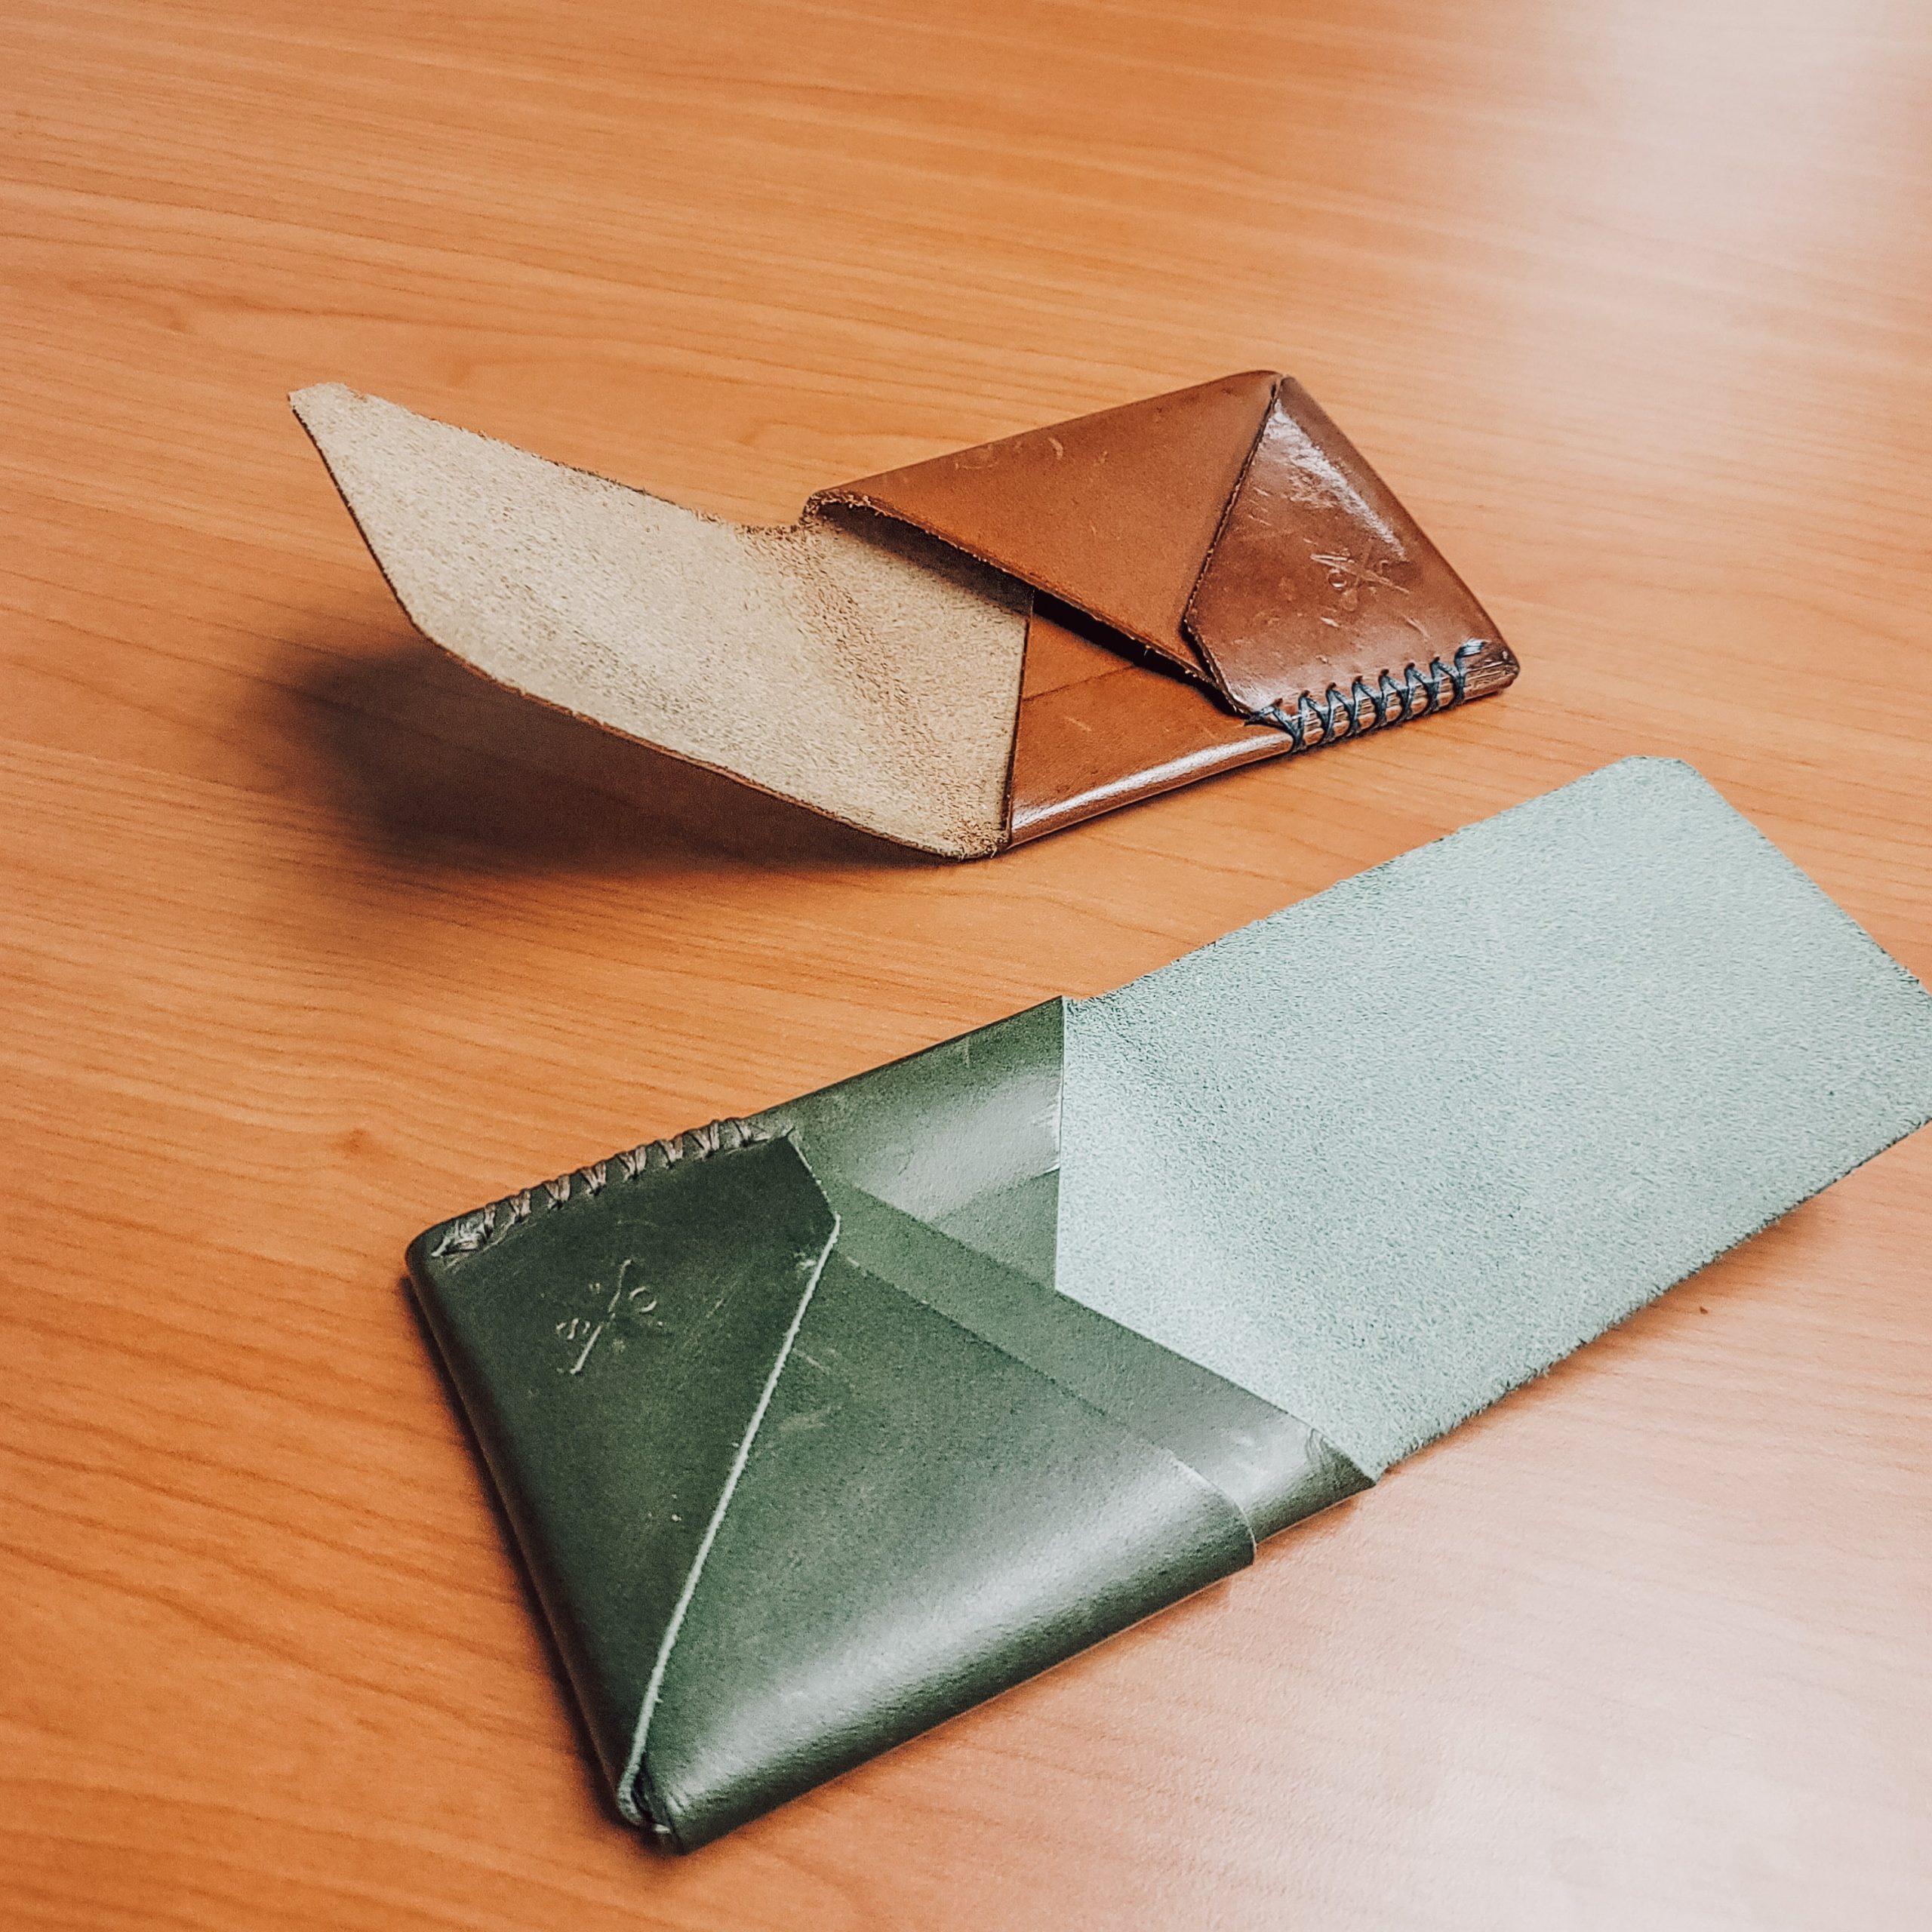
I’m a huge fan of men’s accessories and have had many styles and types of wallets. The current wallet I am using is made by Open Sea Leather Co. It is a minimalistic design but still has room for a few extra cards. The specific wallet that I have is the Houbei 2.0 in the olive color. The other wallet pictured is the Top Sider in chestnut with blue stitching. The Houbei has the option of choosing two colors of leather for a split tone effect. Both version you get to choose which leather and which stichting you would like.

The difference between the two is that the Houbei 2.0 has an additional inner pocket and an exterior pocket. The exterior pocket is great to hold my ID as I need in when I’m going in and out of work past a checkpoint so it’s easily accessed. When traveling I keep my RFID train card on it to easily scan at the gates.

Both wallets can hold cards and cash. The cash simply folds over with the fold of the wallet; although I typically don’t carry much cash on me. They are lightweight, and definately quality made products. I’ve really enjoy it and for the ammount of cards I keep the Houbei 2.0 is perfect.

If you’re interest in getting one of the two yourself or another one of their styles you can check them out on their website https://www.osleather.com/

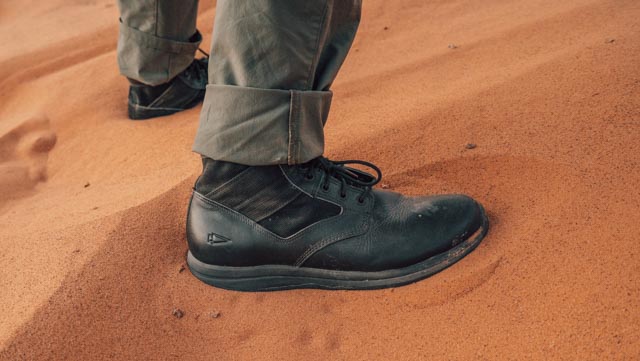
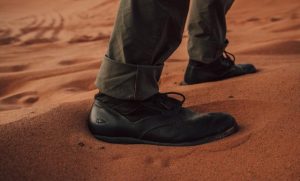
My shoe of choice is either my MACV-1 boots by Go Ruck or my black and gum Ballistic trainers by Go Ruck.   I own two pairs of MACV-1; one pair that I wear at work that are tan leather than the black ones pictured here. I also have a pair of Nike air prestos that I wear quite often too.

I’ve used the MACV-1 s in all sorts of terrain,  initially I loved then but as I started using them more and more often in slippery terrain I stopped liking them so much.   They just wern’t performing in crap terrain.  I later had my black ones resoled while in Korea and they now have a more aggressive footprint that should prevent me from sliding.

I’m still in the search for a quality pair of everyday boot that I can wear out on adventures and that will make do in most situations that I may find myself in while traveling.  Let me know if there is a boot that you are partial to!

MACV-1 – Black Leather – 6"

Ballistic Trainers


What’s up everyone! So I just went on a 26 day holiday to Indonesia. I spent half of my time in Java and the other half in Bali. Most of the time I spent in both locations I hired a scooter. During my stay here I ran into so many times where I was googling and searching for certain topics and couldn’t find anything related to them. With that being said I decided to write a post regarding these topics as well as additional information that will help you during your travels in Indonesia. If you ran in to different experiences, please let me know and I will be glad to update the post so that everyone is on the same page!

While in Bali, I stayed in many locations to include Seminyak, Sumberkima, Canggu, and Ubud. In Java I stay in Surabaya, Jogyakarta, somewhere near Mt Bromo, and the town/village next to the Ketapang port. At each place that I stayed, it was extremely easy to find places to rent/hire a scooter. Typically, you will see small shops that have sign’s that say “scooter/motorbike for rent.” If you don’t see any, you can ask the receptionist at your hostel and they typically always are able to point you in the correct direction or even call someone to bring a scooter for you to rent. The average cost that I have found for scooter rental has been 30K Rupiah to 70K Rupiah dependant on the location and the duration that you plan to hire the scooter. The longer you hire the scooter the cheaper it is.

Not everywhere is friendly when it comes to hiring scooter but most places are normally pretty nice. With that being said, when you first get the scooter you should do a thurough inspection to ensure that it is in good working order. Make sure the mirrors can move and stay in position, check the horn, the brake lights, the brakes (both front an rear), and the turn signals. Having a working horn and turn signals are crucial when riding in Indonesia, although a lot of foriengers tend to not use them. Get a helmet, always get and wear a helmet. You will see a lot of people not wearing a helmet, but safety is important and police will sometimes pull over foreigners for not wearing a helmet and extort them for money. Or they will just pull you over for being a foreigner. After you ensure everything is working make sure you take pictures of both sides of the scooter, especially if it has previously been dropped. Some places will try to tell you their scooter comes with insurance and that is why it is so expensive. It’s is up to you if you get insurance or not. I personally have never gotten it and I haven’t talked to anyone that has gotten insurance and dropped their scooter to see if they had to pay or anything.

One thing to take into consideration, is that when hiring a scooter in Indonesia it will typically not be full with gas/petrol. 90% of the time you will have to get Petrol. Petralite or Petramax are the two types of fuel that you should put into the scooter. Gas is abundant and easy to find. In the villages and city, if you cannot find a petrol station, you will see little stands with glass absulut vodka bottles filled with a blue liquid. The blue liquid is petrol and costs 10,000 Rupiah a bottle. This bottle should be enough to get you to a station. Beware that typically these bottles are watered down and will make your scooter hard to start if you rely only on that for fuel. If you have a quarter tank of gas left, you can typically fill you scooter up at the petrol station for 30K-40K depending on the tank size. There are also little portable carts parked in the cities and villages that you can fill up at too. These are also typically watered down and farely more expensive than the typical petrol station, so if you absolutely need gas I would only put in 10-15k in order to make it to the next station.
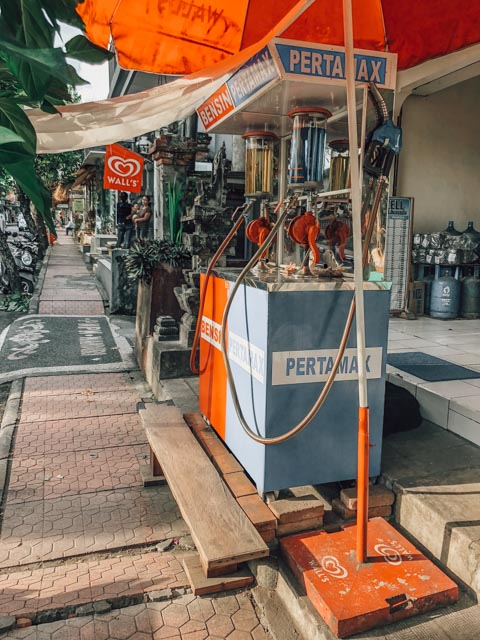
When pulling into the petrol station there will be locals work the station. The process of getting gas is extremely easy. Each fuel pump will say what the fuels are that it has, You will then pull up to the one you want, stop or wait in line, then turn off your scooter, open the seat, and hand the local the amount of rupiah for the gas to be filled. They will then pump your gas for you. Make sure you take off your own gas cap, a lot of times they will not take the cap off for you. Once they are done filling the tank, put the cap on and push you scooter forward to get out of the way for the next person to get gas. You can then close your seat, sit down, and start your scooter back up, and head off to what ever location you plan to go to continueing your trip.

Lets discuss driving rules and mannerism in Indonesia. Here in Indonesia you will drive on the left side of the road. I don’t know if it is legal to turn left on red lights. Typically, if other poeple are turning left on a red light I will just follow along, if not I will wait until it is a green. It seems in Java at night people just blow through red lights, so ensure that you are being vigiliant when driving so that you don’t get hit by a vehicle. If the car in front of you has their hazard lights on, it means they are going to stop. Turn signals do not mean that they are turning. Typically, the turn signals mean that they are passing the person, or there is a vehicle or something in the way ahead and they have to move over a little bit. People honk at you non-stop. The honking is typically telling you where they are at or that they are passing you. Beware of stray dogs, they hang out on the side of the road. You can honk at them to get htem to move. There are a lot of pot holes everywhere, if you are paying attention and its just you on the scooter, you can just lift your bum up a little bit, shifting your wieght to your feet, cushening the bump to get past it. I’ve done this several times when traveling at a higher rate of speed and unable to maneuver left or right. I would recommend practicing this at slower speeds as it as a valuable skill to have.